- Find the Business as shown before.
- On the left side menu, choose Marketing

- Choose Campaigns
- After you click Campaigns you will see the list of Campaigns

- To add a new Campaign click Create on the top

- Configure new Campaign
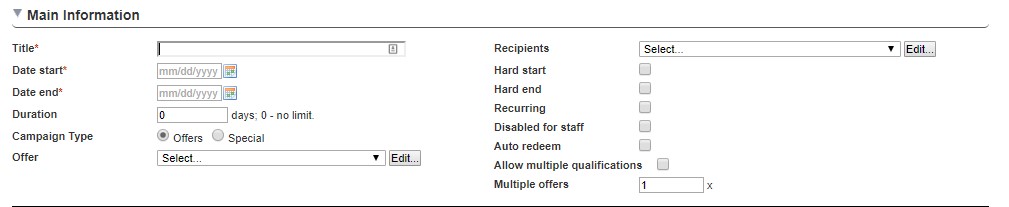
- Title - This field is only used to organize your campaigns and is not visible to your customers. You will see this title in the campaign list view to help you identify which campaign you would like to view.

- Date start - This is the first date the campaign will be qualifying members. See the "Hard Start" details for more details on when members can qualify for the campaign.

- Date end - This is the last date that the campaign will check for qualified members. See the "Hard End" sections on how members can still be qualified after the campaign end date.

*Choose a date that is far into the future ie. 2025 for the End date. - Duration - This is how long before the member is qualified for. This is relative to each member's qualification.

- Campaign Type - This campaign type is what type of incentive you would like to give to a member when they qualify for the campaign. This is optional.

- Offers - By choosing the offer type you are then presented with a drop-down field for you to choose which offer the member will receive after they qualify for the campaign.

- Special / Multiplier - Unlike an offer, the multiplier incentive adjusts the member's earn rate when they come in and spend money. The multiplier is always applied to the BASE earn rate set for the business. If there are multiple modifier based campaigns that a member is qualified for then the highest value will be applied to the transaction.
* If you choose "multiply" 2 new area will be open to configure;
Special type - Multiply
Modifier Value - Enter a value to Multiply the points.
- Recipients - This is how the campaign determines who will be qualified. The recipient can be as complicated as you would like. Here you can create a new list or edit the existing one.

*Recipients: Customers who qualify for the campaign. - Recurring - If the campaign should repeat Daily/Weekly/Yearly. This setting allows members to re-qualify for the campaign after they have either redeemed the offer it has expired. A campaign can be recurring based on a set number of days before the system will check the member's qualification or based on a daily, weekly, monthly, or yearly schedule. For the schedule based qualification, the system will check that member's qualification on that day.
Check the Recurring box.
Recurring has 2 types,
Period -
Schedule - Has multiple options click the drop-down menu.
Daily -
Weekly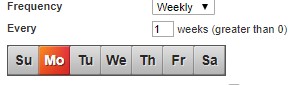
Monthly -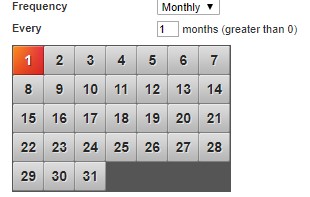
Yearly -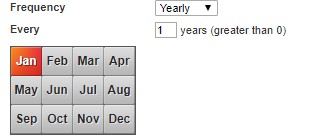
- After Campaign is created Qualify the users.

This will Qualify Customers/Users for the new Campaign.
Related articles